
Cookie making was my thing until I had girls. When I was diagnosed with Lupus and unable to cook at times, it became a dad thing. Even when home from college “cooking cookies with dad” was something our girls loved and it has become a family tradition. Fast forward and now it is cookies with grandpa, all 7 of them. Hats and aprons, step stool and clean hands, they line up. I was replaced.
Not really. Sometimes God moves you to other talents and you are replaced. The main thing is to let go and let God. He will always use you in others lives. With children and grandchildren it is important to stay in their lives, living a life that reflects Christ. You are the memories that will help them through times in years to come. Make sure your actions and words are worth remembering.
Psalm 71:18
So even to old age and gray hairs, O God, do not forsake me, until I proclaim your might to another generation, your power to all those to come.
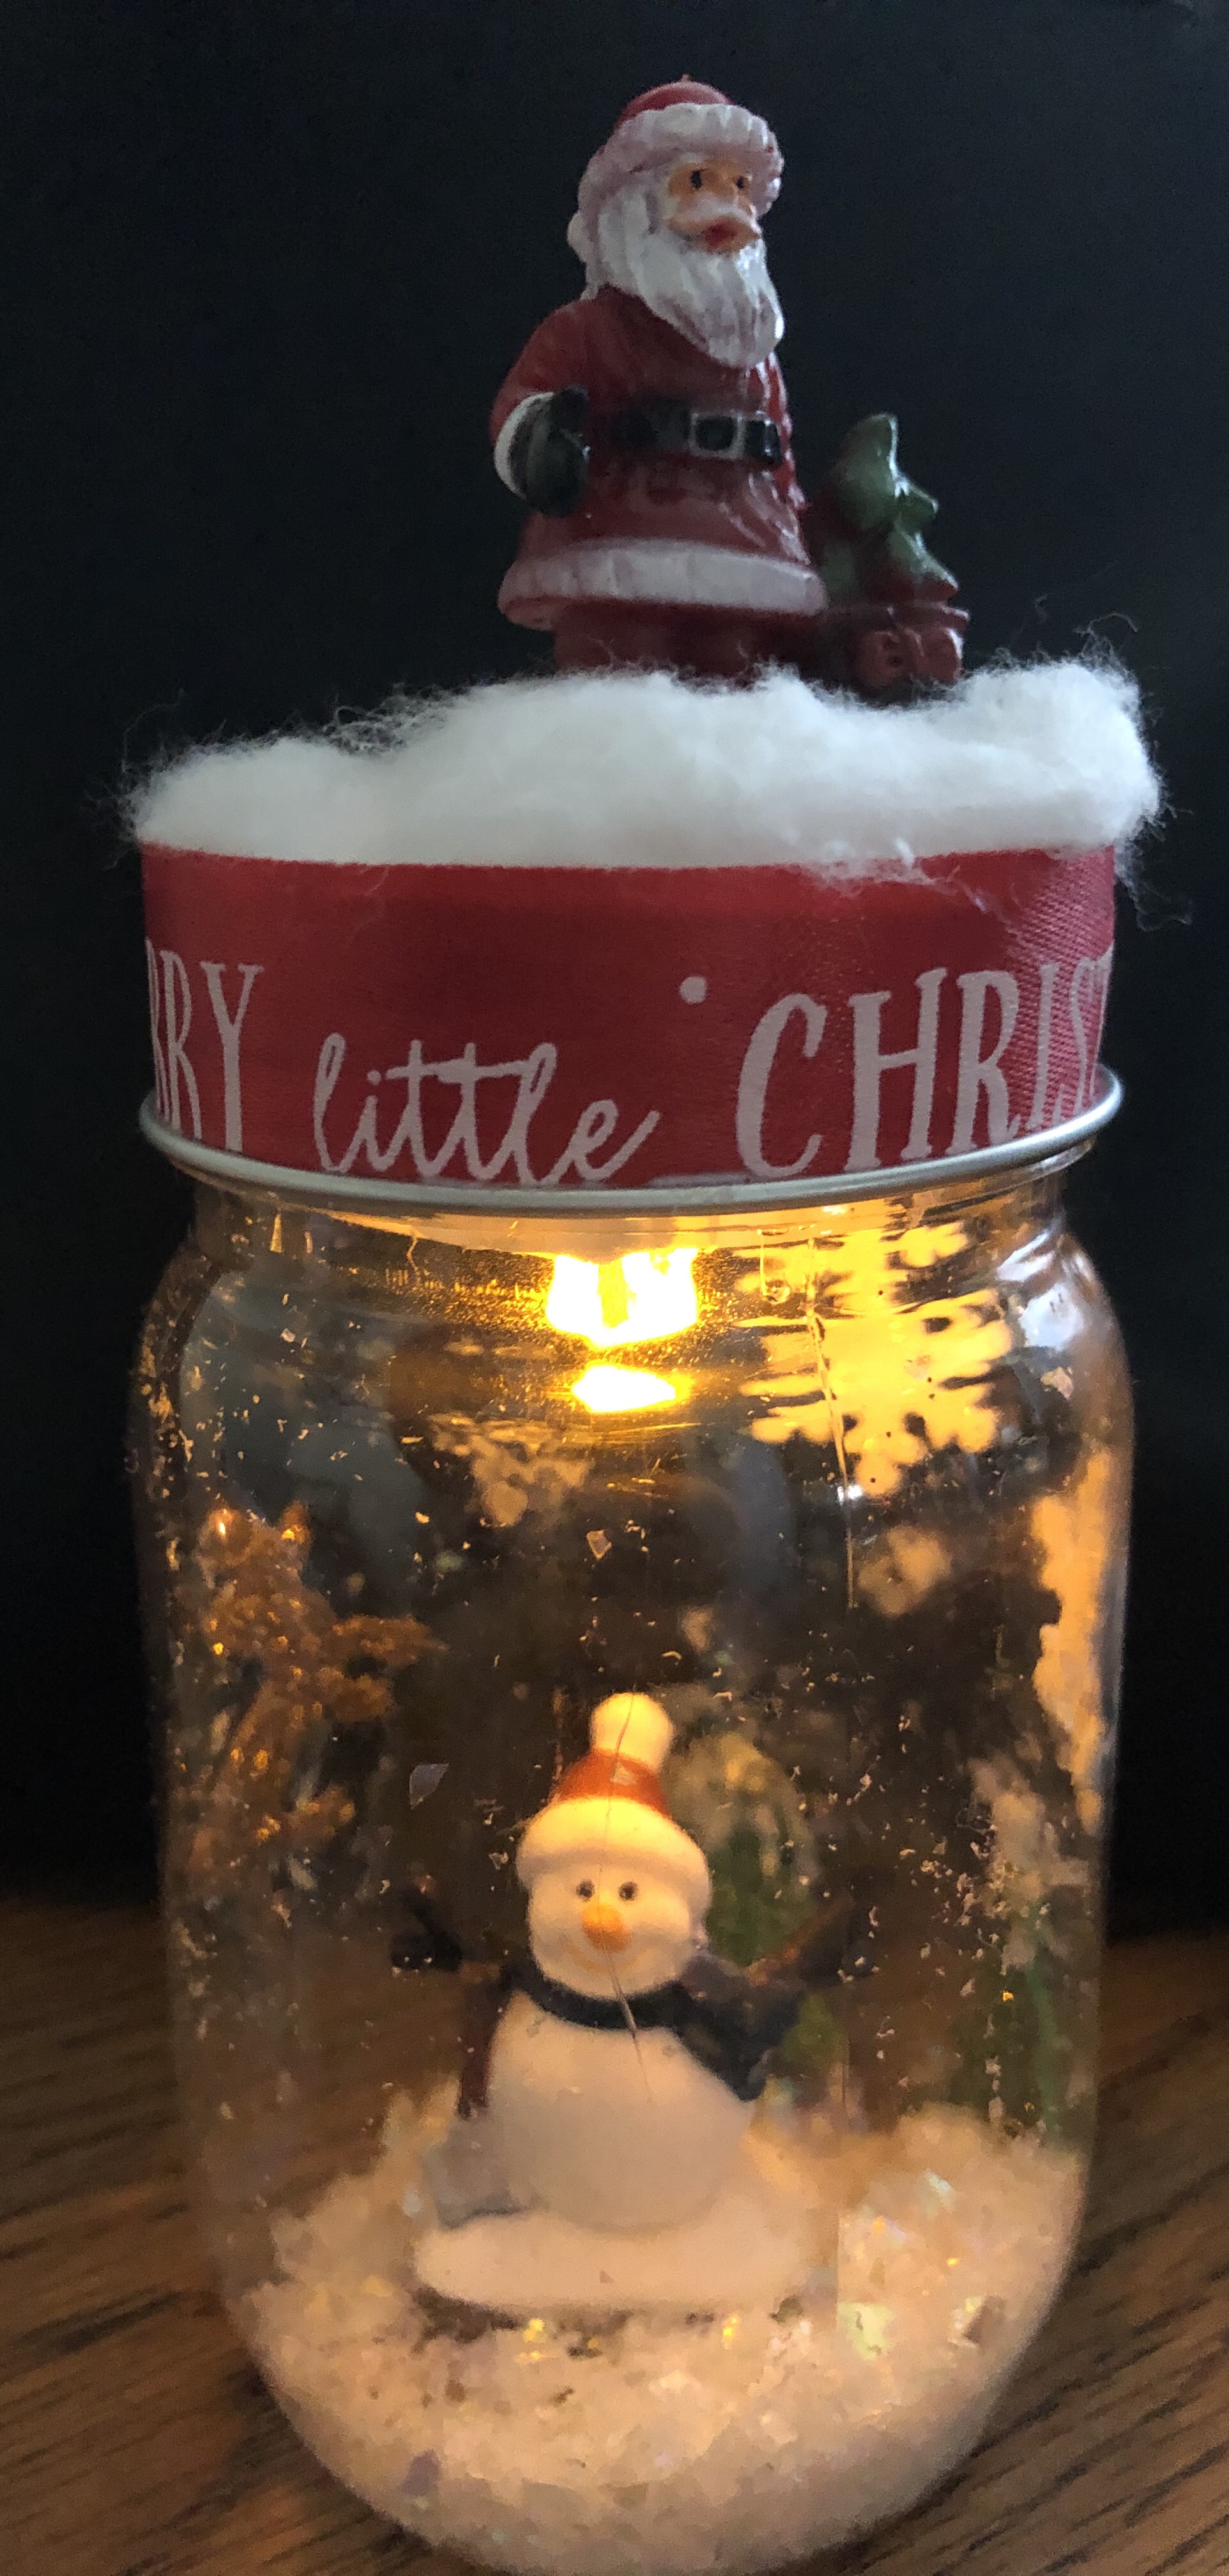
In 2018 I decided to add “crafting with grandmom.” My too oldest made a Nativity wreath and my youngest grandson a seashell ornament Thanksgiving Day. And so it began, “Thanksgiving Craft with grandmom”. Since there are 7 I try to find things at the $1. Now, in 2021, the store’s items are $1.25. Still affordable crafts can be made.
With 7 all together Thanksgiving 2019, ages 1 – 13, I decided the oldest six could do the same craft if I made it safe (baby’s mom will make her’s). If your kids or grands are old enough, no need to prep out the cutting the metal lids and hot gluing the tea lights.
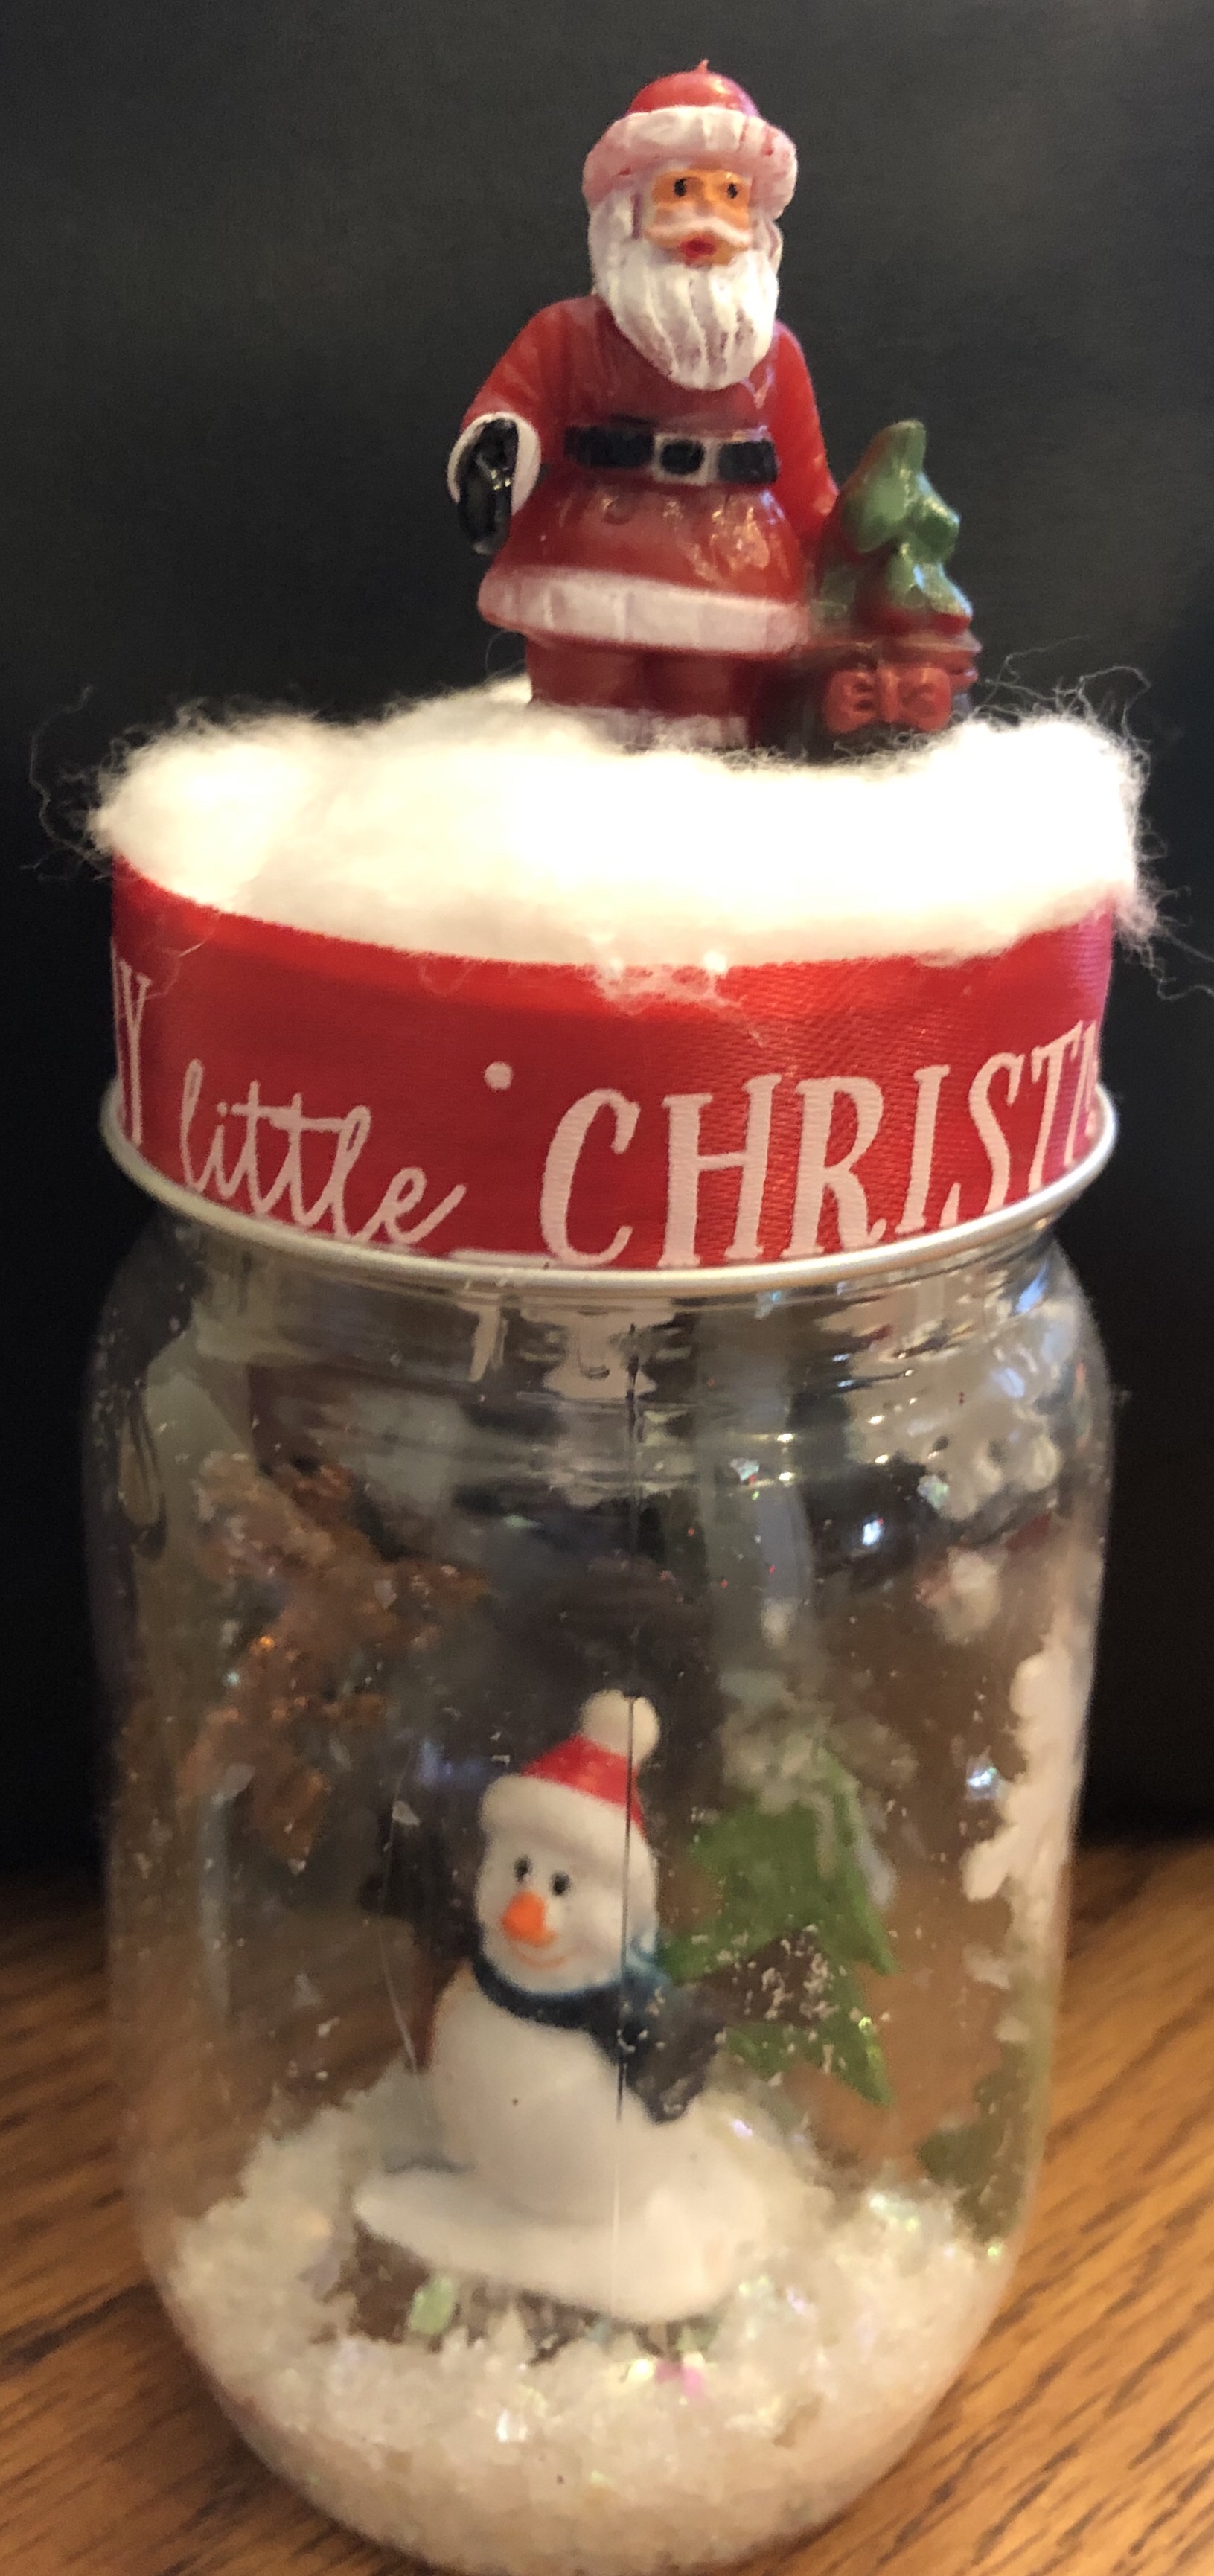
All the supplies came from a $1 store. A change in times and $1,25.
- Plastic mason jar
- Miniature figurines
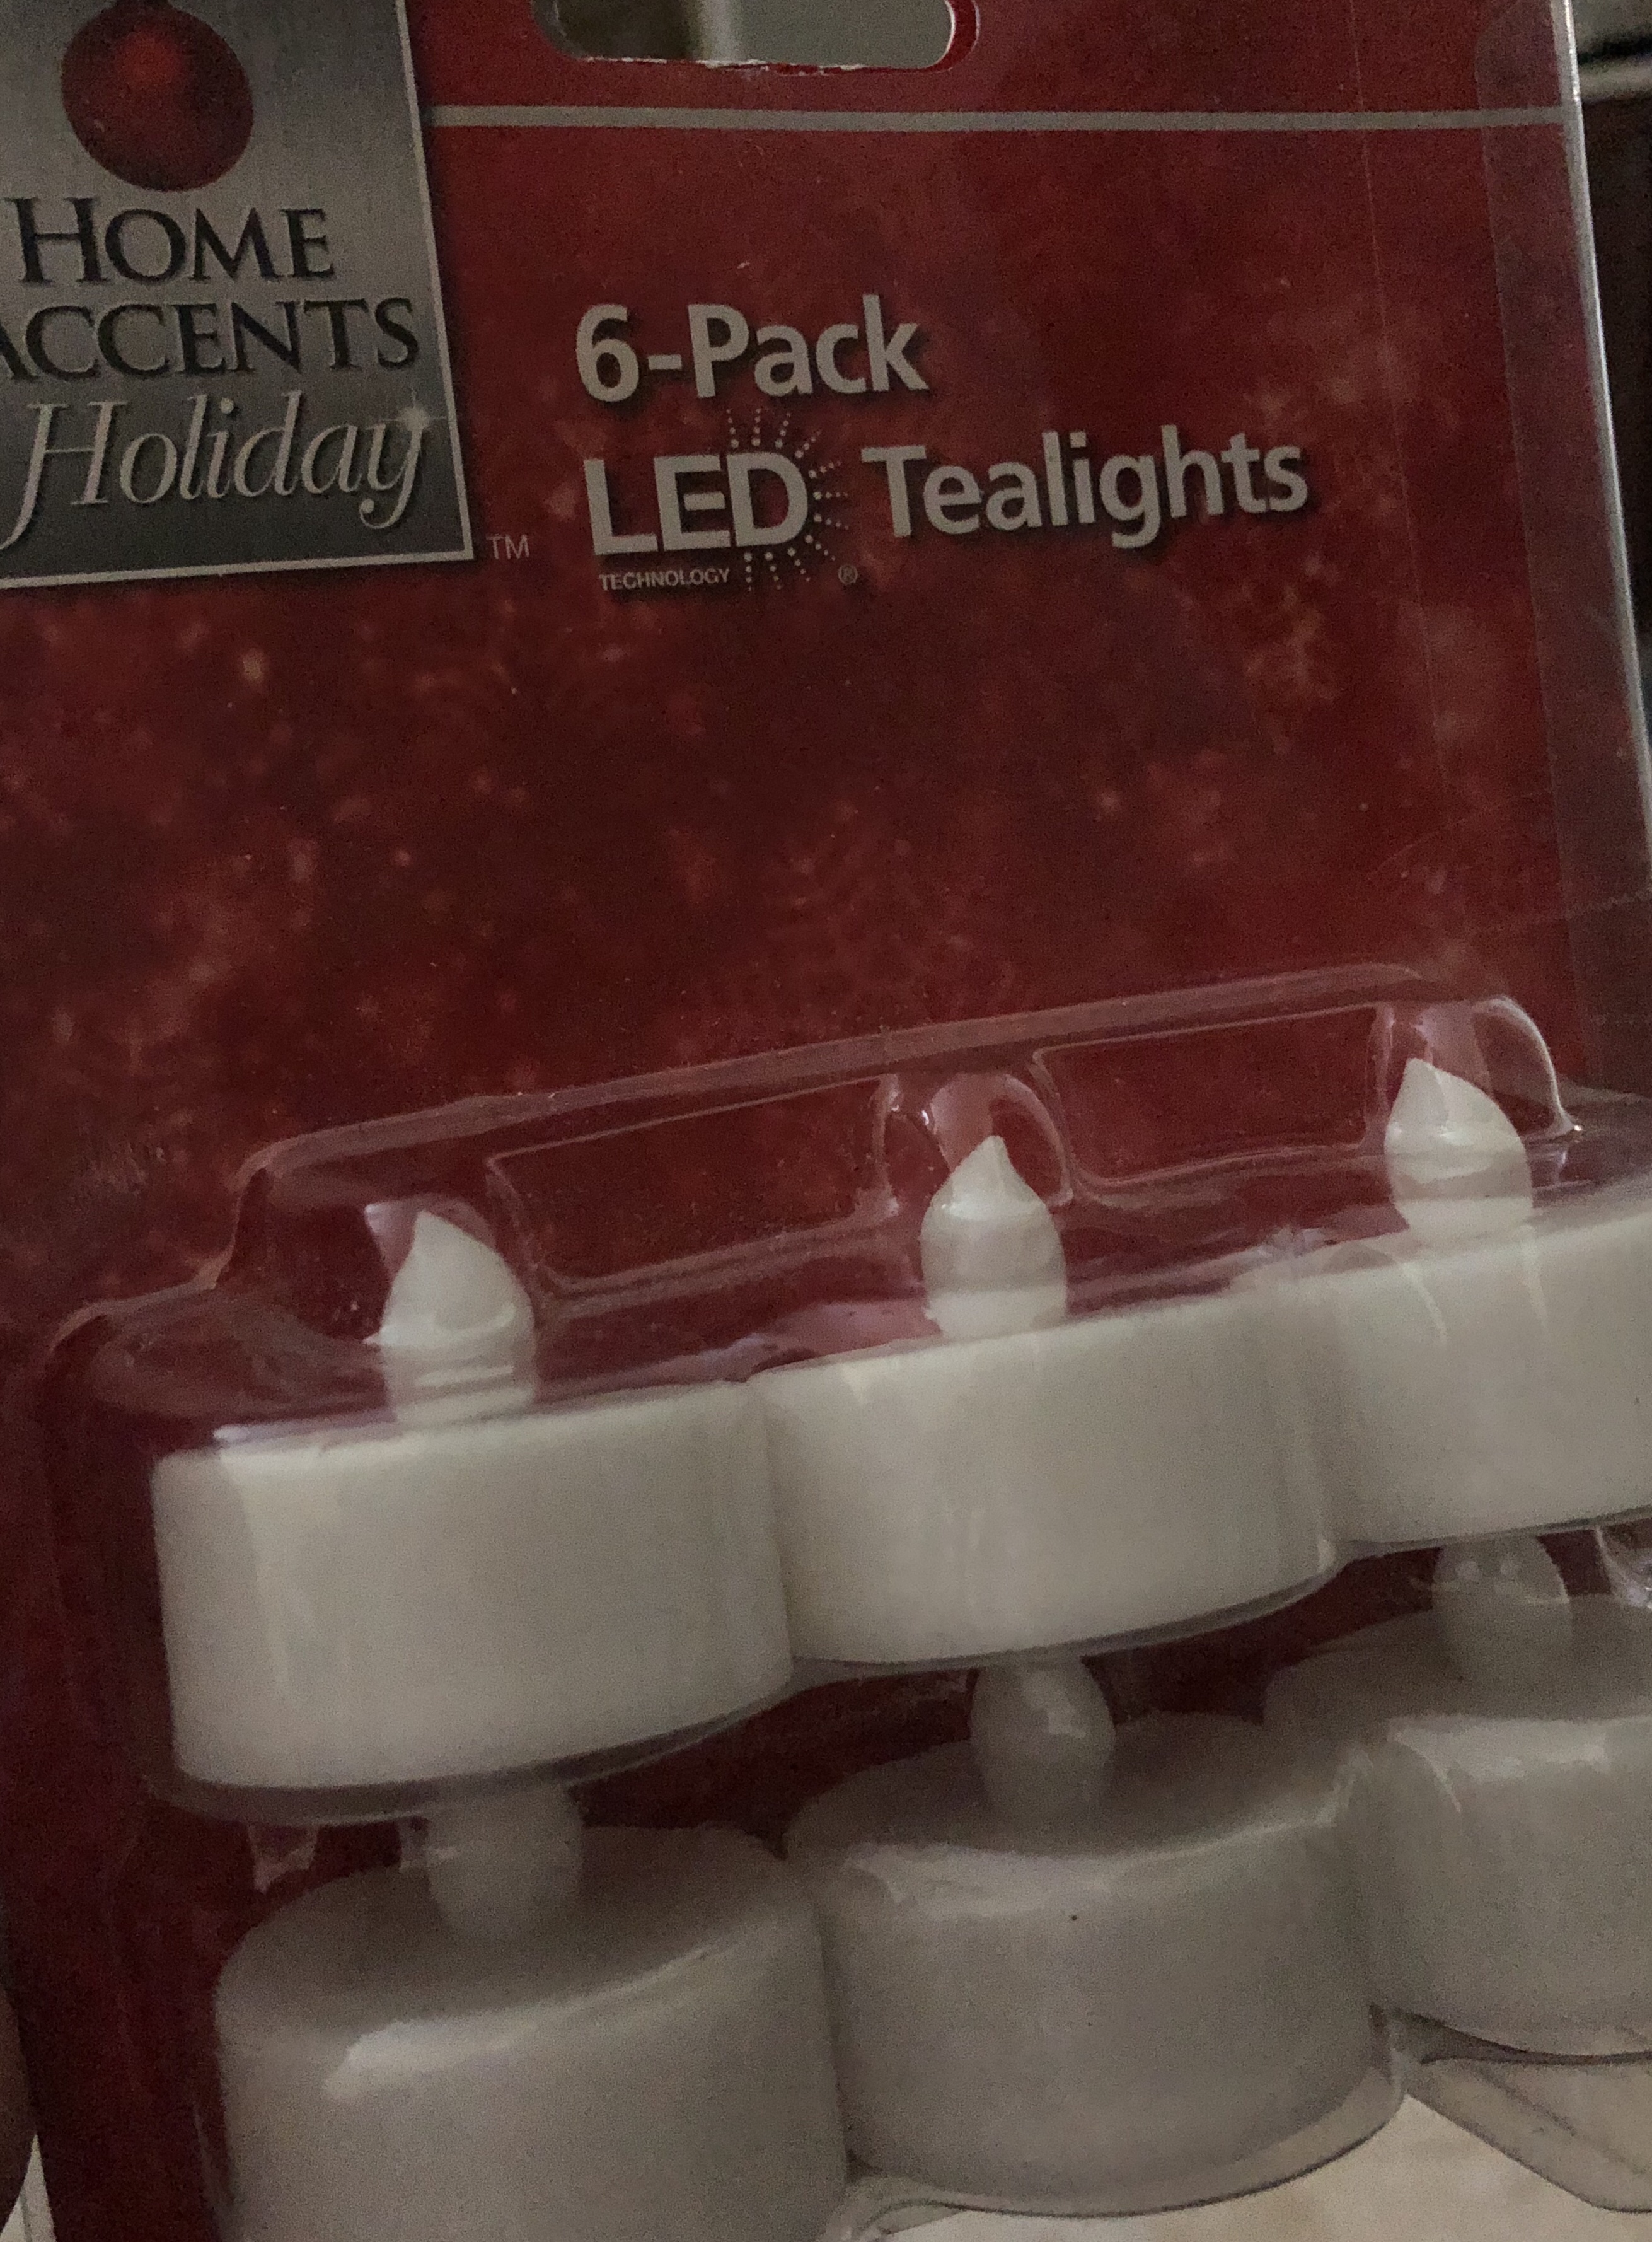
- Tea lights (test them)
- Glitter stickers
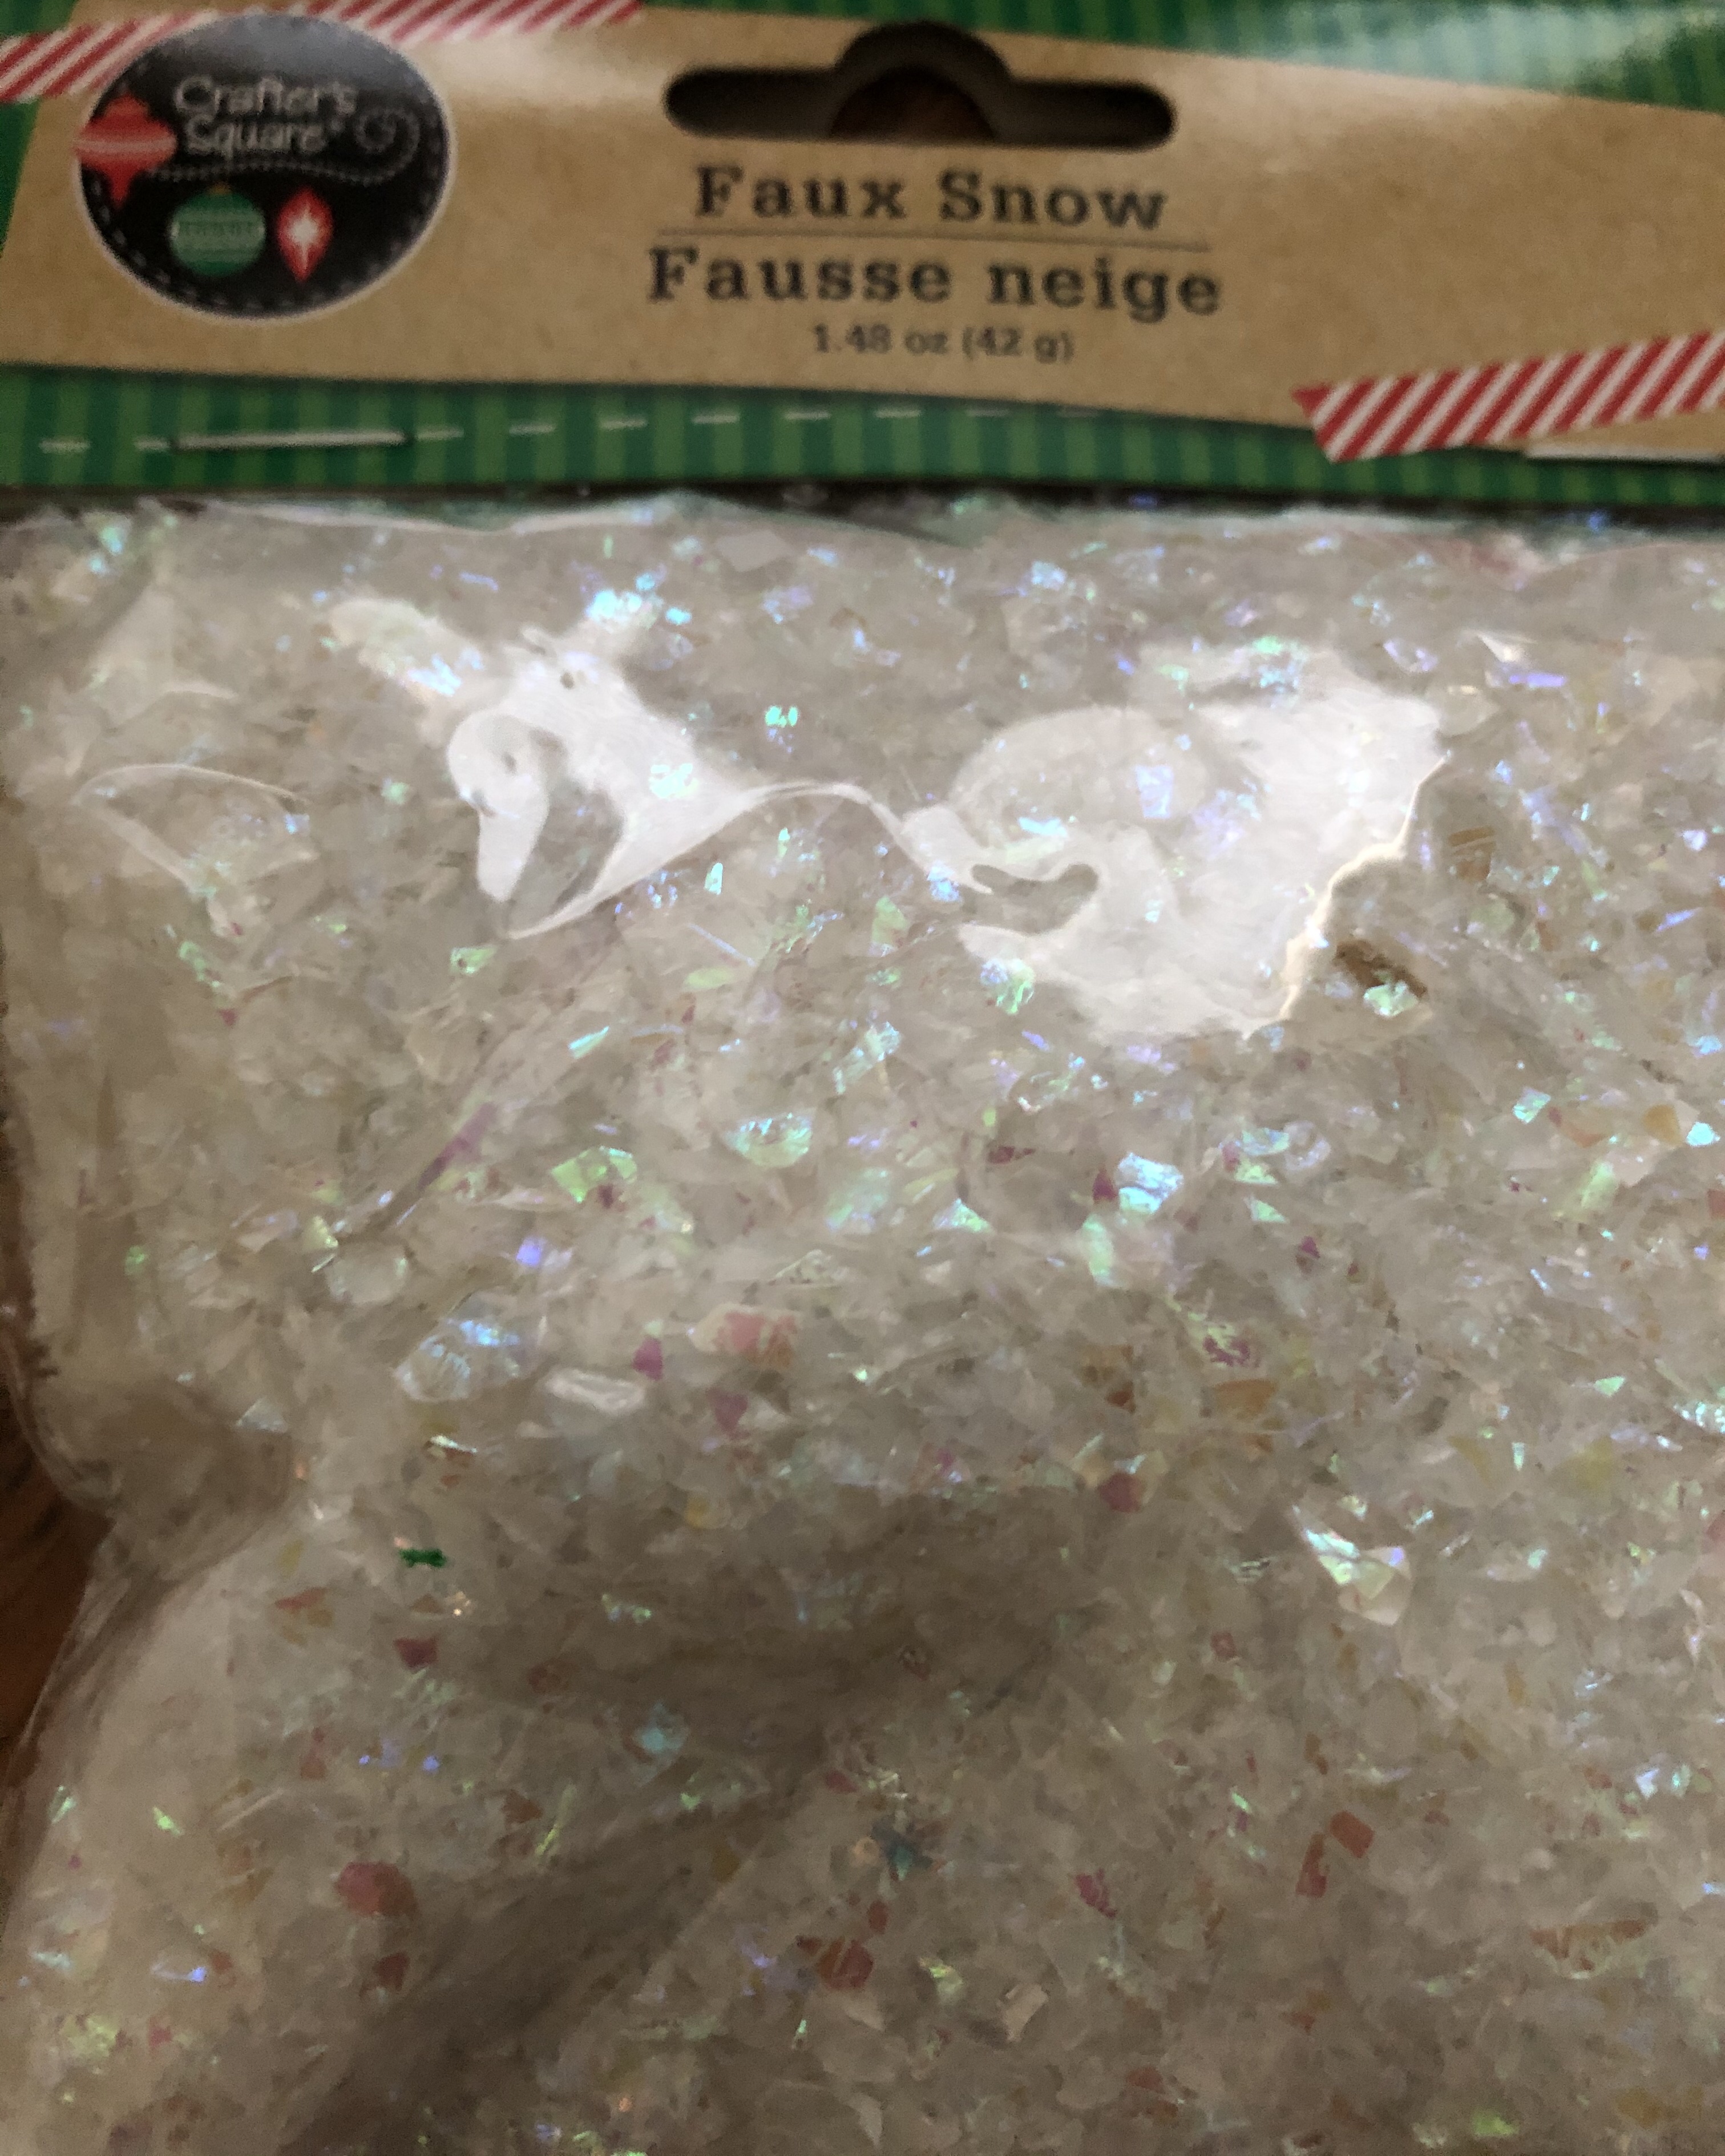
- Faux Snow flakes
- Christmas ribbon
- Cotton balls
- Tacky glue/craft glue/glue gun
- Craft scissors
- Tweezers
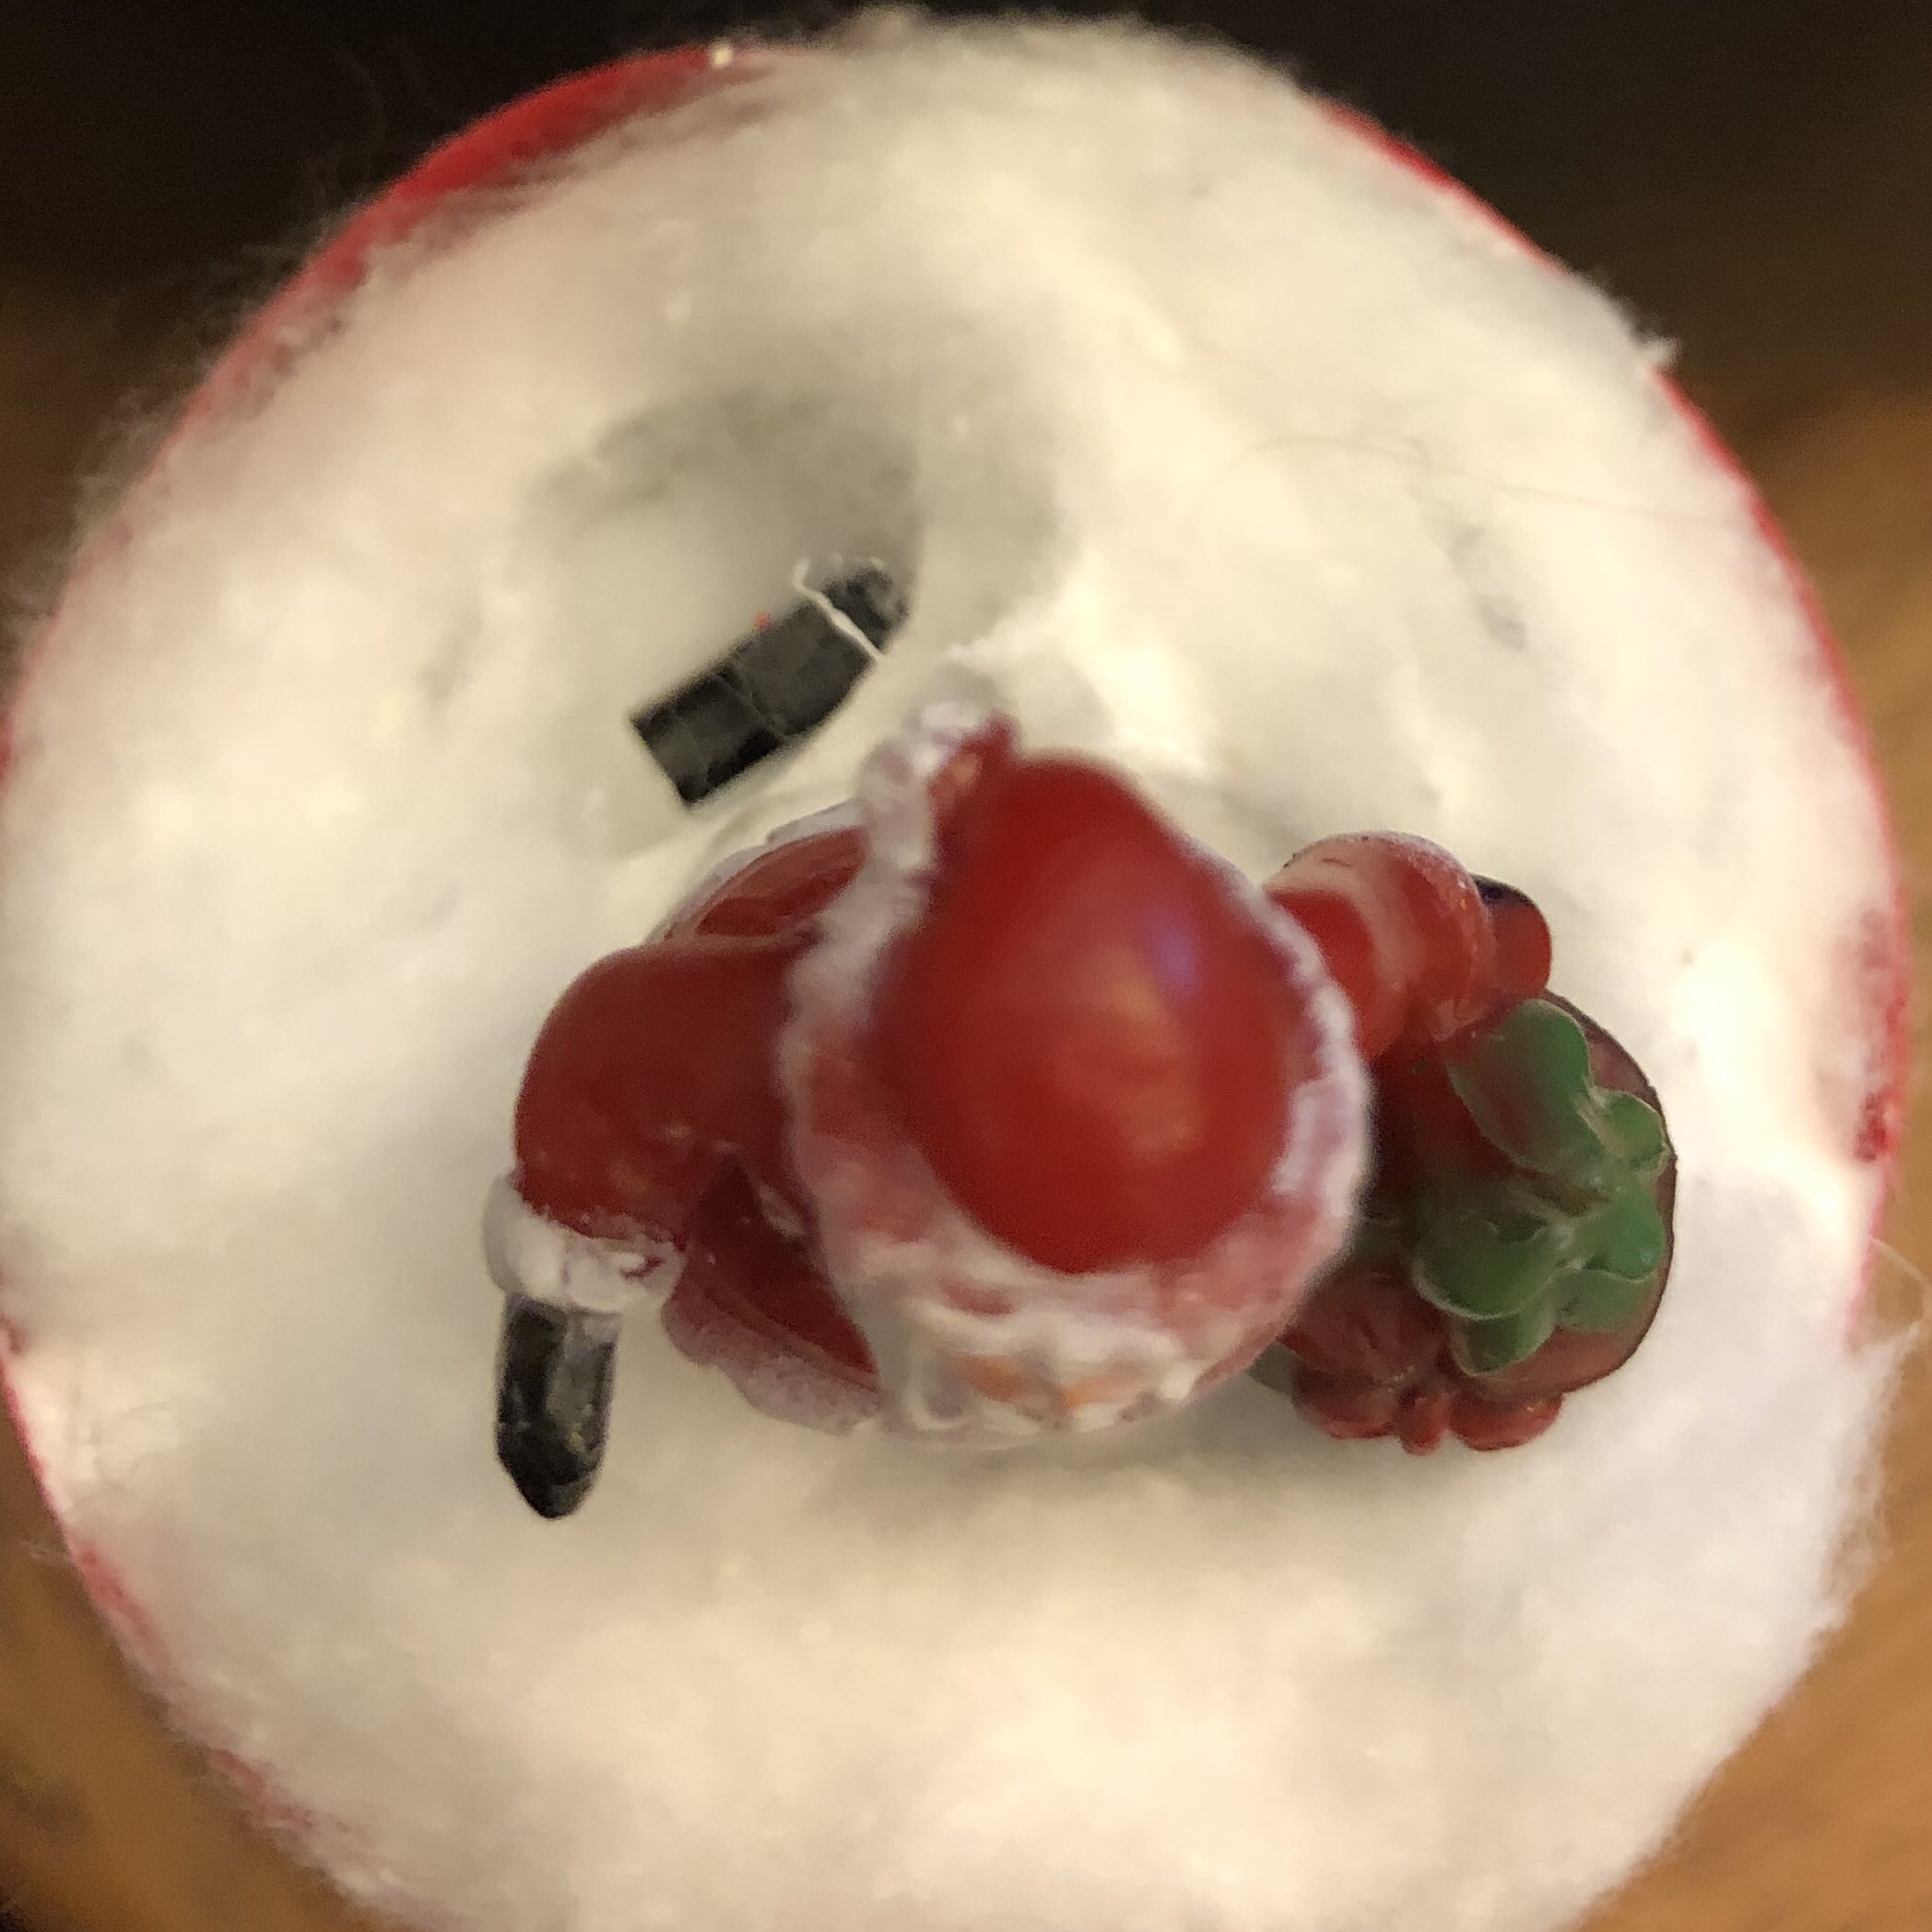
Prepping Lids: Depending on the age group, prep lids for child safety.
- Remove liner of cap. Set aside.
- Trace tea light on top of lid and cut out circle using craft scissors. Glue tea light (glue gun) underneath so on/off button is near edge (this will make it accessible. Be careful of sharp edges. This is why you are childproof-prepping.) The hot glue will cover any raw metal edge between tea light and metal lid.
- Cut a small rectangle on liner so on/off button is not covered. Glue liner on top of lid. (Only on/off button will shoe in finished project.) Now your lid is safe to handle by the smallest hands. Ready for snow and figurine.
- Remove lid liner
- Trace tea light on top of lid in center.
Decorating Jar:
- Place stickers inside jar. You can make a scene to one side, place snowflake stickers around… creativity of child.
- Using glue gun or craft glue, make a dime size circle inside center bottom of jar. Place figurine (use tweezers if needed) immediately. When glue is dry, add 1-2 tablespoons of faux snow.
- Screw on lid. Facing figurine in jar towards crafter, glue 2nd figurine on top.
- Loosen a cotton ball and glue on liner around the figurine and on/off switch. Be careful to not glue on/off switch where it can not slide.
- Glue appropriate length ribbon around rim. You can make a tiny bow to glue over seam or simple attach a glitter sticker.
If the tea light battery expires, you can unscrew lid, pop off old one and glue in another one.


Crafts by RBGreenDesigns.Com
